
As the saying goes, ‘better the devil you know than the devil you don’t’. So, keeping your important data backed up is important. It doesn’t matter if you are using a cloud storage service or an external hard drive for backup, it’s always better to keep a secure backup of your important data.
So, how to recover data from a Mac drive? The good news is that your Mac is equipped with built-in tools that can help you recover data from a crashed hard drive. It doesn’t matter what happened to your drive or which scenario you are facing – if you follow some basic steps, you should be able to recover your data. Let’s see how.
Back up your Data
If you are storing important data on a Mac, it is crucial that you have a backup of the data. It doesn’t matter if you are using iCloud or an external hard drive for backup, it’s always better to keep a secure backup of your important data. So, how to recover data from a Mac drive? The good news is that your Mac is equipped with built-in tools that can help you recover data from a crashed hard drive. It doesn’t matter what happened to your drive or which scenario you are facing – if you follow some basic steps, you should be able to recover your data. Let’s see how:
First and foremost, make sure that the cable connecting your hard drive to the computer isn’t in use by another device (a desktop or laptop). You will need access to both ends of this cable in order to move forward with recovering your data.
Once the cable has been unplugged and left unattended for at least two minutes, plug in the other end of the cable into an empty USB port on the computer and wait for at least two minutes before proceeding. This step ensures that all power is drained from the hard disk before any further steps.
After waiting for two minutes with no power going through it, connect one end of the cable to an available USB port on the computer and then connect it with its corresponding port on the external hard disk unit.
Format your Drive
Before you move on to the next step, make sure your drive is formatted. You will find the disk utility on your Mac and select the drive that you want to format. Formatting the hard drive will erase all data it has.
Install Mac data Recovery Software
Your Mac comes with built-in Mac data recovery software. Simply open up the Disk Utility app from your Utility folder and select the external drive that you want to recover Mac data. Once you have done this, click on the First Aid tab and then click on Repair Disk Permissions. Now, before you start recovering data, it is of utmost importance that you install mac data recovery software. This will ensure that all your lost files are recovered safely and securely. When installing a Mac data recovery software, you need to pay attention to its features because not all software offers the same services or capabilities. For example, some offer only file retrieval while others can go deep into your hard drive and recover any deleted file or file type without missing out on anything important.
Select the Important files to Recover
If you are recovering data from a crashed hard drive, it’s important to select the files that you want to recover. The Recover Data Mac App can help you in this process. This is the app that’s built-in with your Mac, so there’s nothing to download. Click on the ‘Recover Data’ icon and follow the instructions from here on out – it couldn’t be easier.
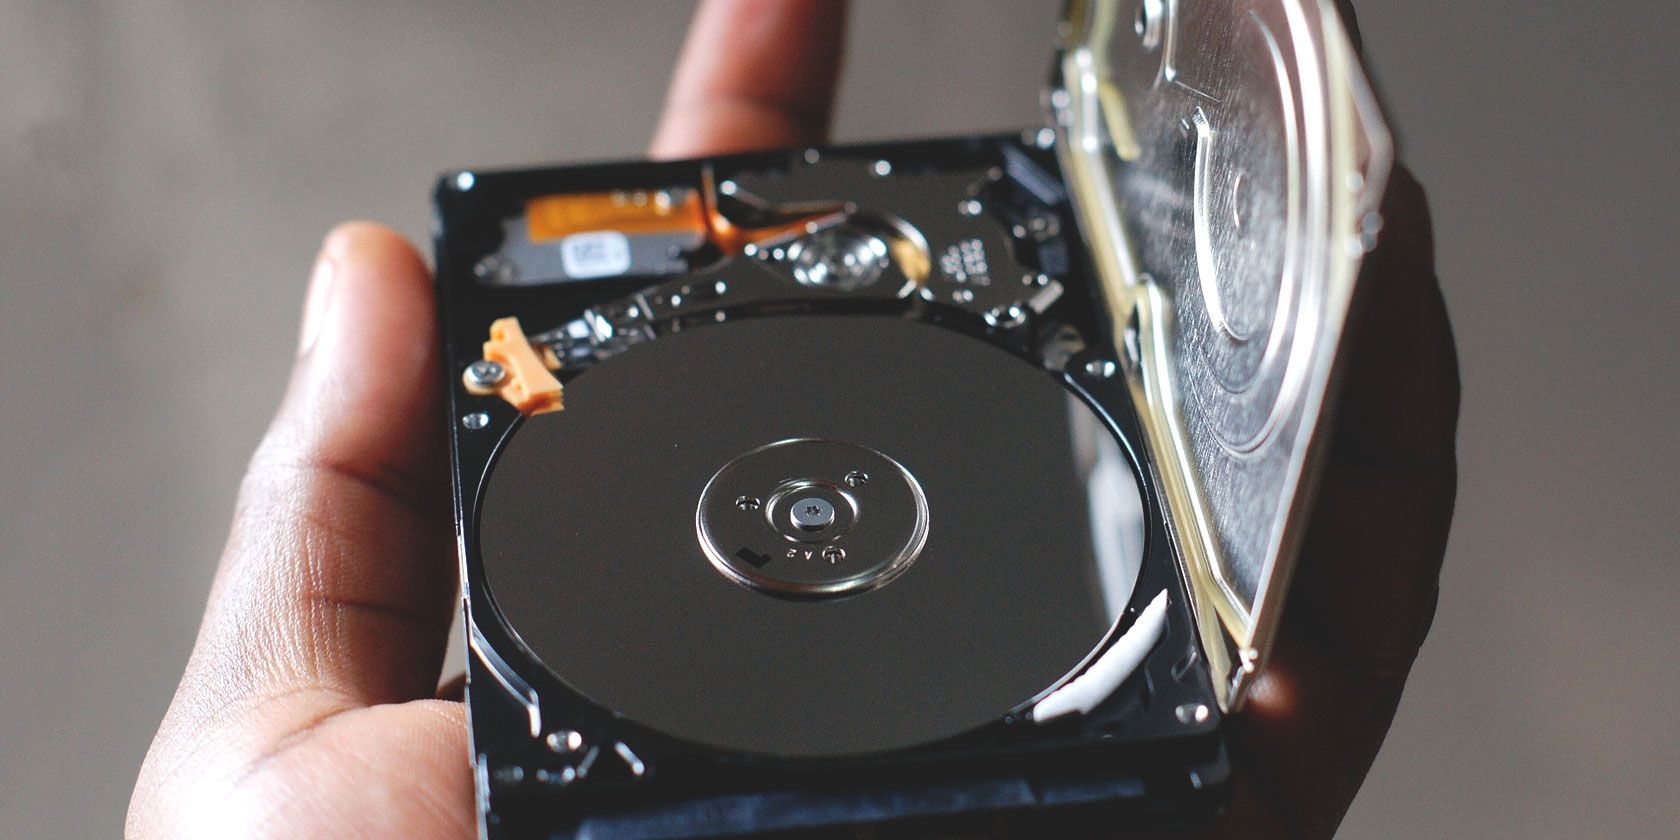
![How to Recover Data from a Corrupted or Crashed Hard Drive [2022]](https://www.cleverfiles.com/howto/wp-content/uploads/2020/01/recover-hard-disk-data.jpg)
Select the file types that you want to recover and then click ‘Scan for lost files and folders. Now, you can see all of your lost data listed in front of you sorted by file type. Select all the files that are important to you, or just those that you need right now, and click ‘Save All Selected Items’. You will be prompted to save these items in a new location, so make sure this is a safe spot where they won’t get deleted in case of any future crashes or malfunctions.
Perform a FileVault-Encrypted drive Recovery
If you have the FileVault encryption turned on, the first thing you need to do is turn it off. Once that’s done, go through and decrypt your drive:
First, click on Finder from the dock in order to open up a Finder window. Now, find the computer you want to decrypt by clicking on ‘Devices’ in the sidebar. Click on ‘Unlock (name of your hard drive)’ and then enter your password when prompted.
Once you are logged into your account, click on ‘Turn Off Encryption’ and wait for it to complete. When it’s completed, click ‘Done’.
Next, choose ‘Restart’ to restart the system. Once the computer has rebooted, it will be possible for you to start using your Mac again as normal.
However, before doing so we advise that you reconsider whether or not encrypting is right for you and make an informed decision about whether or not it is worth going through all these steps just in order to undo an already encrypted drive.
Use Beyond Compare to Recover files from an Apple Device Partition
Apple devices are not equipped with powerful features and in certain scenarios, you may need to use a third-party app like Beyond Compare. This is a free app that can help you recover files from an Apple device partition.
Beyond Compare is designed to find, preview and recover data from devices such as external hard drives, digital cameras, iPods or iPhones. The app will scan the device and then let you preview the files before recovering them. It’s quick and easy to use and it can be downloaded for free from the App Store.
The first thing you need to do is download Beyond Compare on your Mac computer. Once installed, plug your iPhone or iPad into your computer using a USB cable (not Wi-Fi). Allow the software to detect your device.
Next up, click on ‘File mode’ and select the ‘Scan partitions’ option like this:
Then click on the ‘Preview’ button of the selected partition which would take you through all the folders available for previewing. Clicking on any folder would show all files within that folder as shown below:
Once you have found what you were looking for just click on the ‘Recover Selected Items’ button to make a copy of that file onto your Mac drive (or external hard drive). You will be asked where to save it so it might be best if you create an empty folder in order to avoid overwriting anything important by mistake.